EXISTING SYSTEMS
Your spa is equipped with an electronic control system that will enable you to regulate the temperature of the water, choose the filter cycle that best suits your needs and activate the massage pumps and the blower pump. It will also enable you to turn on your spa lighting, change its colour and sequence. Depending on the design, your spa will have one of the following systems:
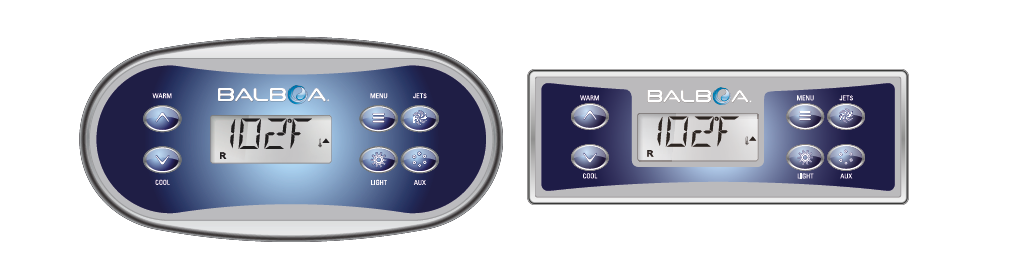
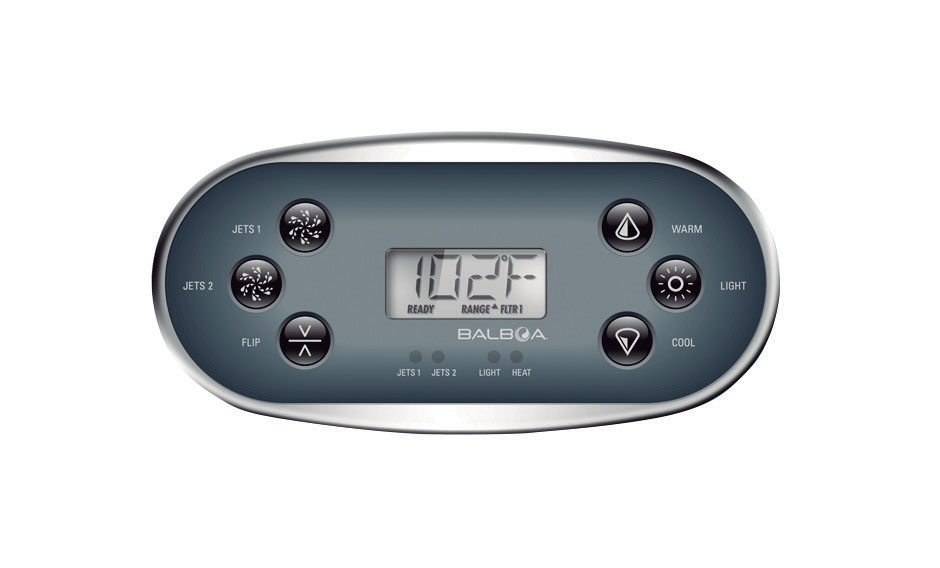
TP500 – TP500S
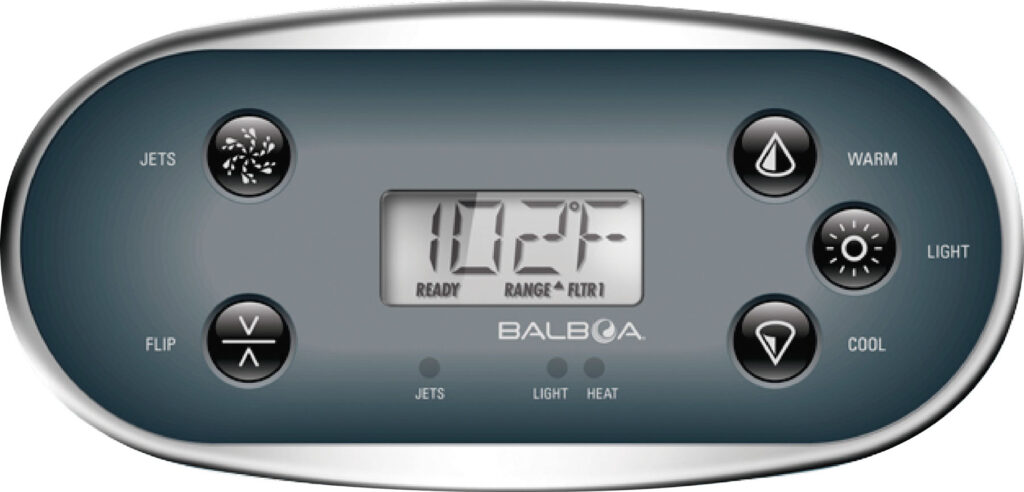
TP600
2 Speed pump
Heater
Spotlight
Circulation Pump
Massage Pumps
Turbo-Blower pump
Heater
Spotlight
Circulation Pump
2 Massage Pumps
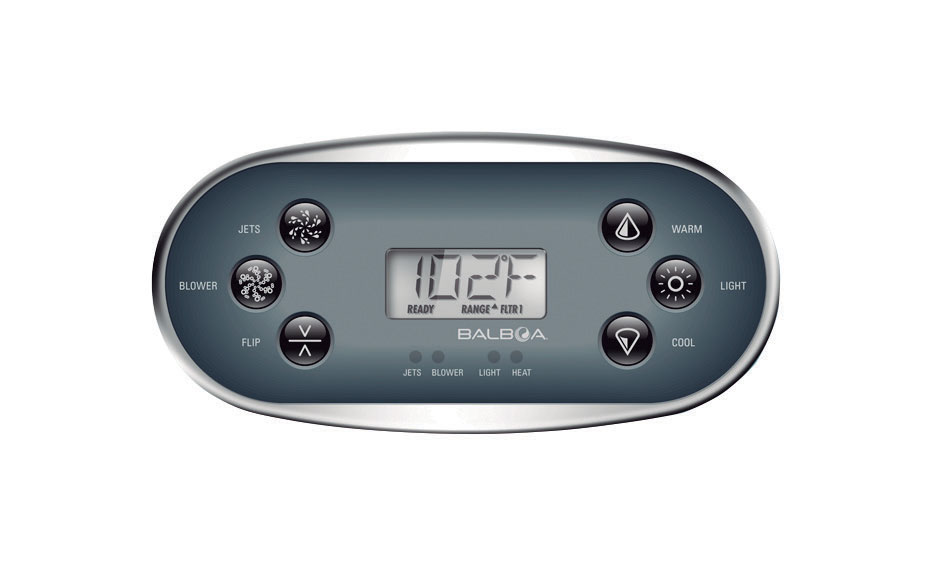
Heater
Spotlight
AUX
2 Massage Pump
Pump
portlight (s)
Massage Pump
Sportlight (s)